
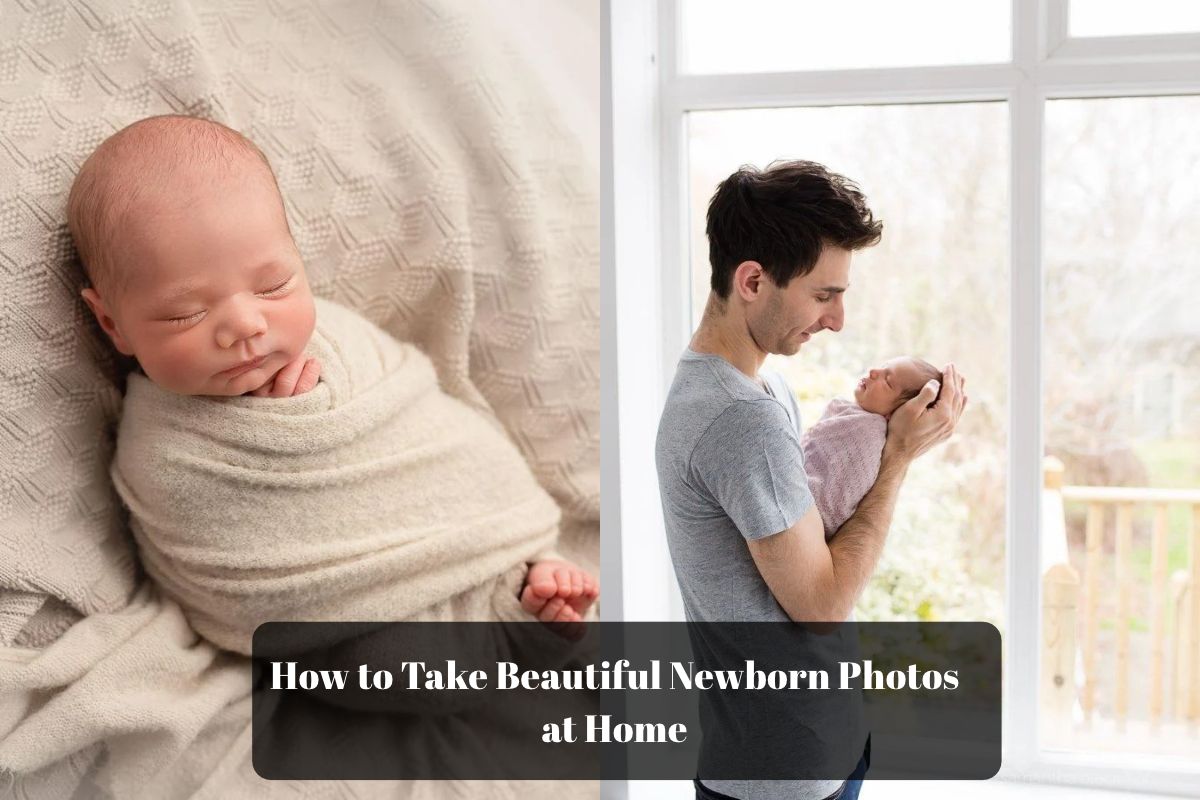
Newborn photos can look soft and beautiful without a studio, a pile of expensive props, or a complicated camera setup. If you know how to take beautiful newborn photos at home, a bright window, a clean blanket, and a calm baby can give you plenty to work with.
The biggest difference comes from slowing down. Newborns move, stretch, wake up, and change moods quickly, so the goal is not to force a pose.
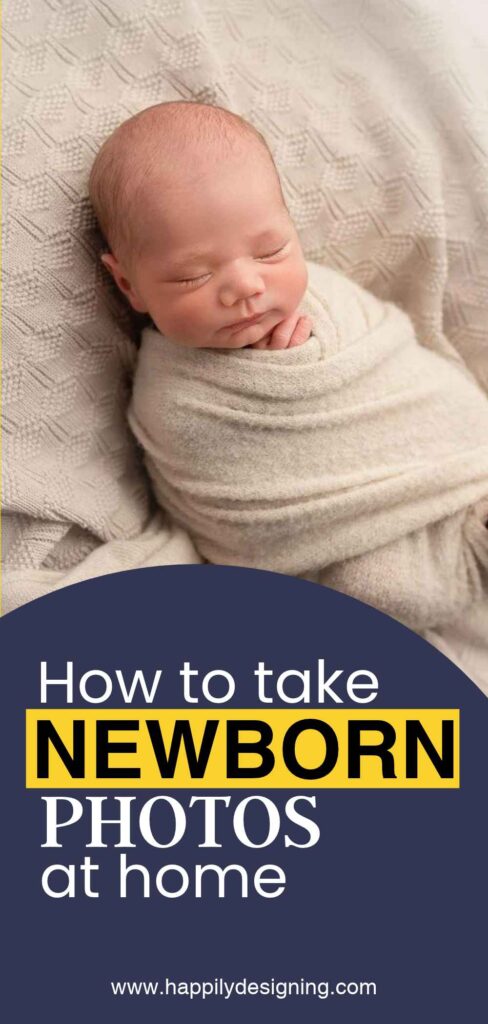
Instead, create a warm and safe spot, use gentle window light, and photograph the little details that make this stage special.
You can use a phone or a camera for this guide. The setup takes about 20–30 minutes, but the actual photo session may take longer depending on feeding, sleep, and your baby’s mood.
Keep the baby comfortable throughout the session and have another adult nearby whenever possible.
By the end, you will have a simple home setup ready for natural newborn portraits, close-up details, and sweet parent-and-baby photos.
What You Need
At a Glance
- Choose a warm, uncluttered room for the photos
- Gather a few soft and simple photo props
- Set up a safe, padded spot for the newborn
- Position the setup beside a large window
- Dress the baby in a simple neutral outfit
- Wait for a calm and sleepy moment
- Take newborn photos from the baby’s eye level
- Capture simple close-up details
- Try one gentle wrapped pose
- Photograph the baby with a parent
- Check each photo before changing the setup
- Edit the photos with a soft natural finish
Choose a warm, uncluttered room for the photos
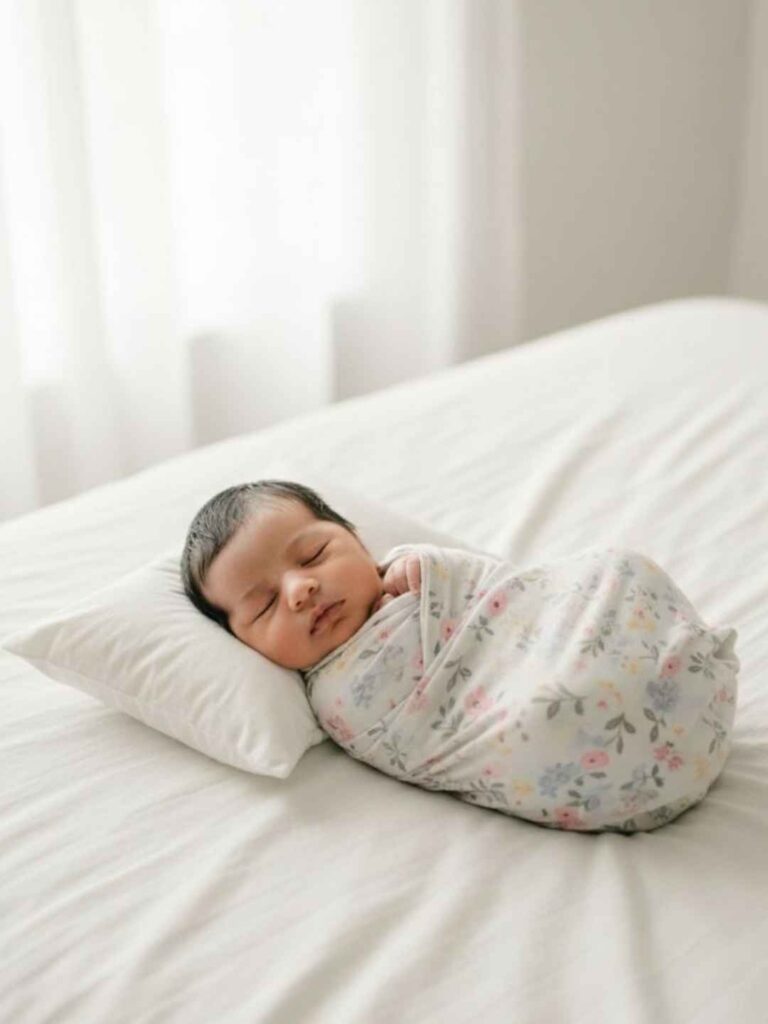
Look for the room with the most natural daylight and the fewest distracting objects. A bedroom or living room near a large window usually works well.
Keep the temperature comfortably warm because the baby may be lightly dressed during the session. Move bright toys, cords, bags, and busy decorations out of the camera’s view.
You want the baby’s face to be the first thing your eye notices.
Gather a few soft and simple photo props
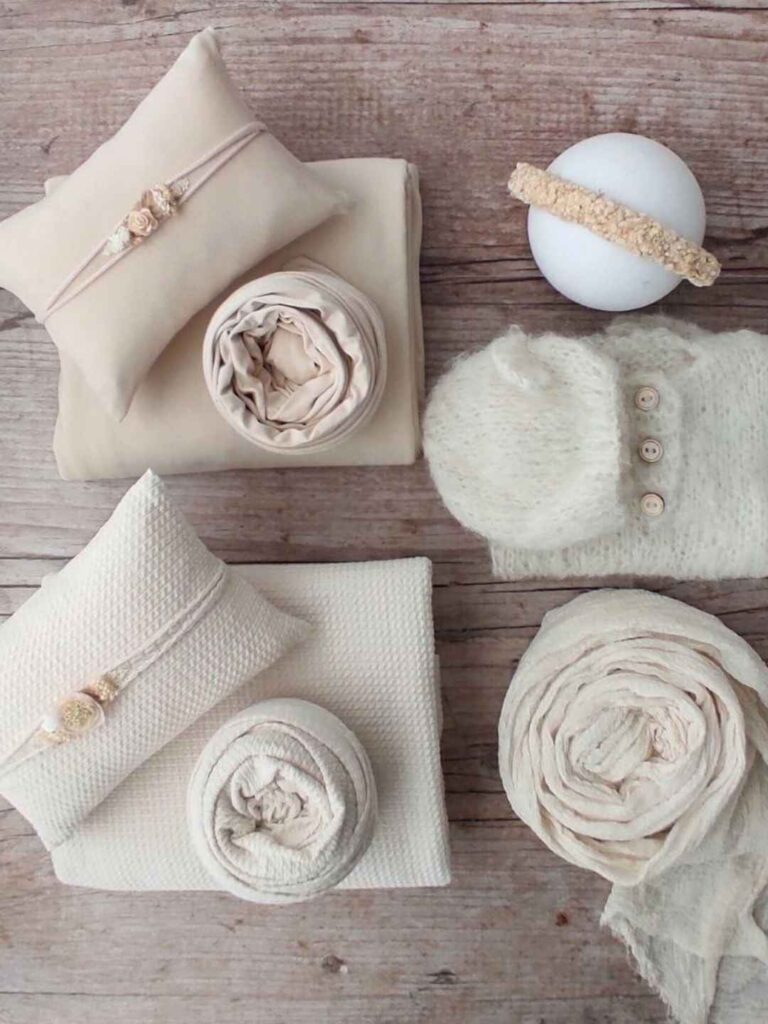
Keep the prop list small so you can spend your time watching the baby instead of changing decorations. Prepare a clean blanket, a soft swaddle, one or two neutral outfits, and a small burp cloth.
A plain basket or similar prop can work for a supervised photo, but never place a newborn in an elevated or unstable container. Wash anything that will touch the baby’s skin before the session.
Set up a safe, padded spot for the newborn
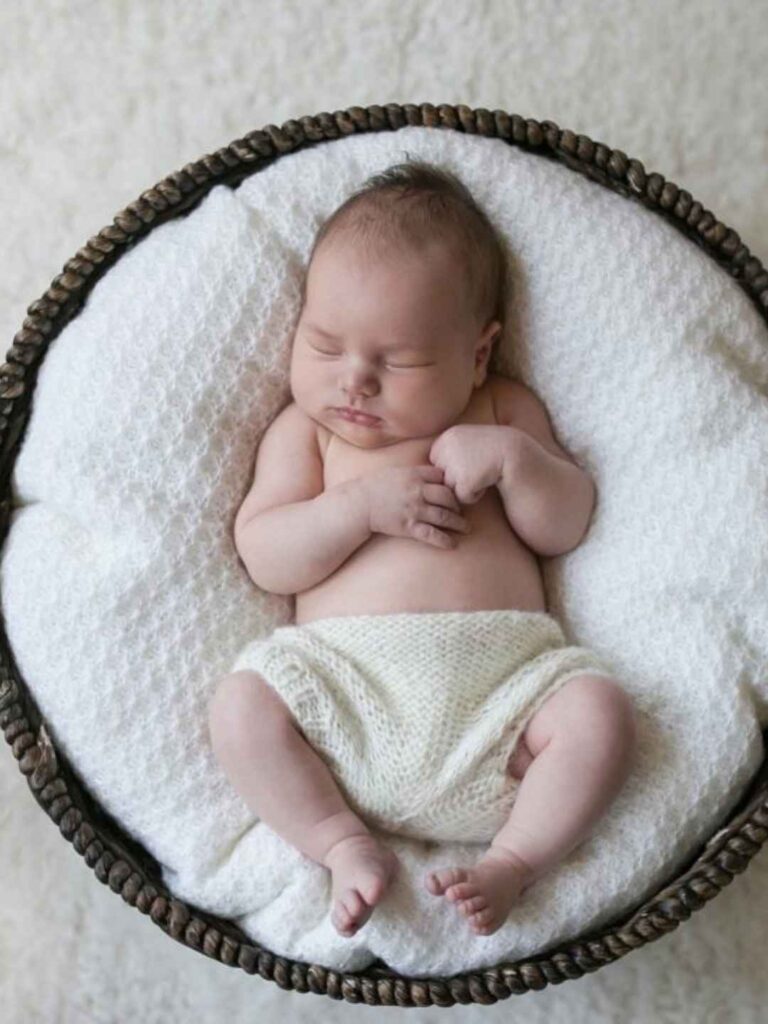
Place a firm, flat surface on the floor and cover it with a clean, padded blanket. Keep the setup well away from stairs, heaters, sharp furniture edges, pets, and anything the baby could reach.
Have another adult stay within arm’s reach during every pose.
Avoid elevated surfaces and unsupported poses; beautiful newborn photos do not require putting a baby in a risky position.
Position the setup beside a large window
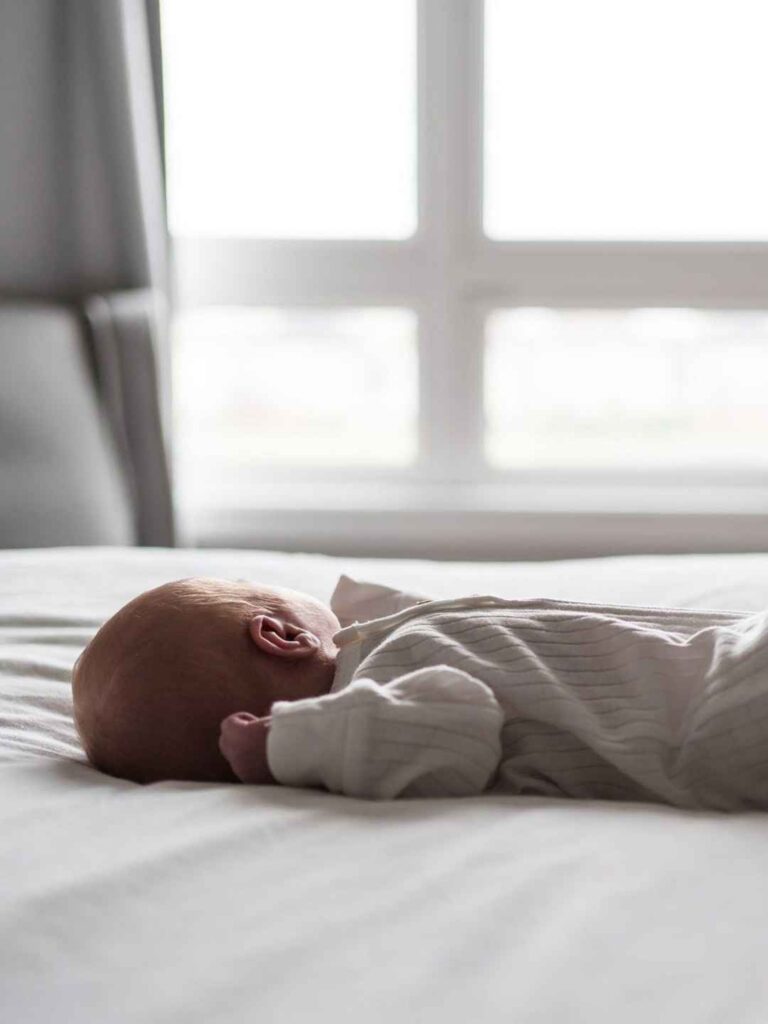
Place the baby’s padded spot about 2–4 feet from a large window, with the baby’s head roughly facing the light.
Turn off overhead lights so you do not mix yellow indoor light with daylight.
Soft window light gives the skin a gentle look and creates natural shadows around the face. If direct sun falls across the blanket, move farther from the window or wait for softer light.
Dress the baby in a simple neutral outfit
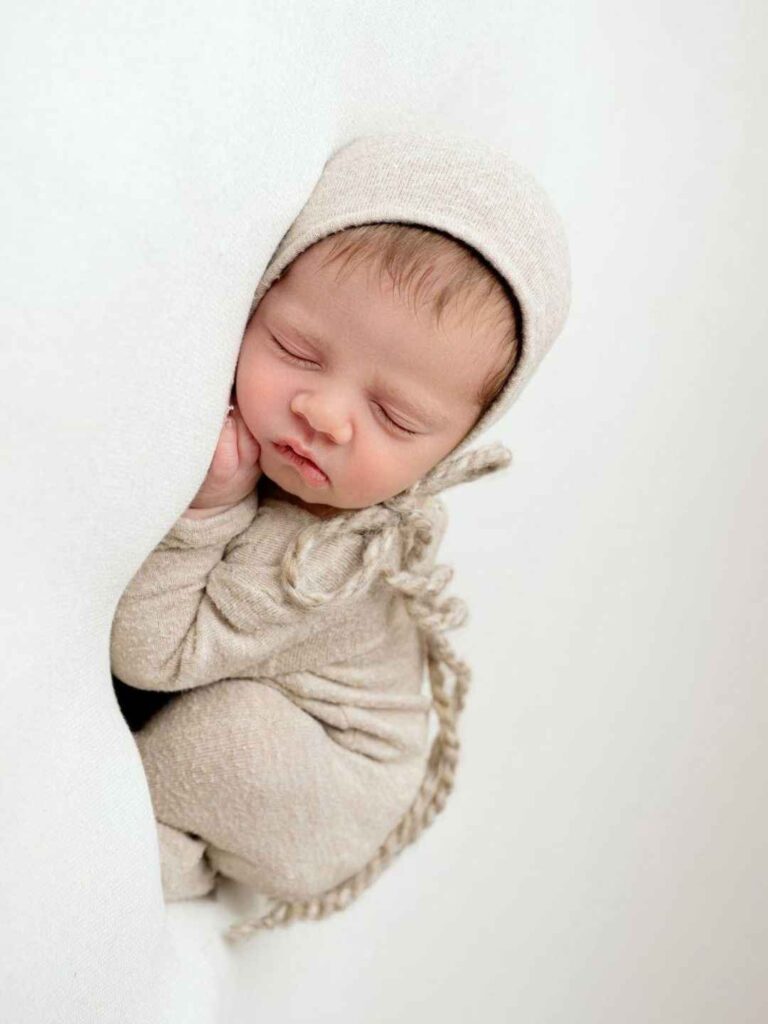
Soft whites, creams, beige, pale gray, and muted pastels keep attention on the baby’s face and tiny details. Choose clothing that fits comfortably and can be removed without lots of pulling or fussing.
A plain onesie or a clean swaddle is enough.
Skip outfits with large logos, stiff fabrics, loose buttons, or anything that could scratch the baby’s skin.
Wait for a calm and sleepy moment
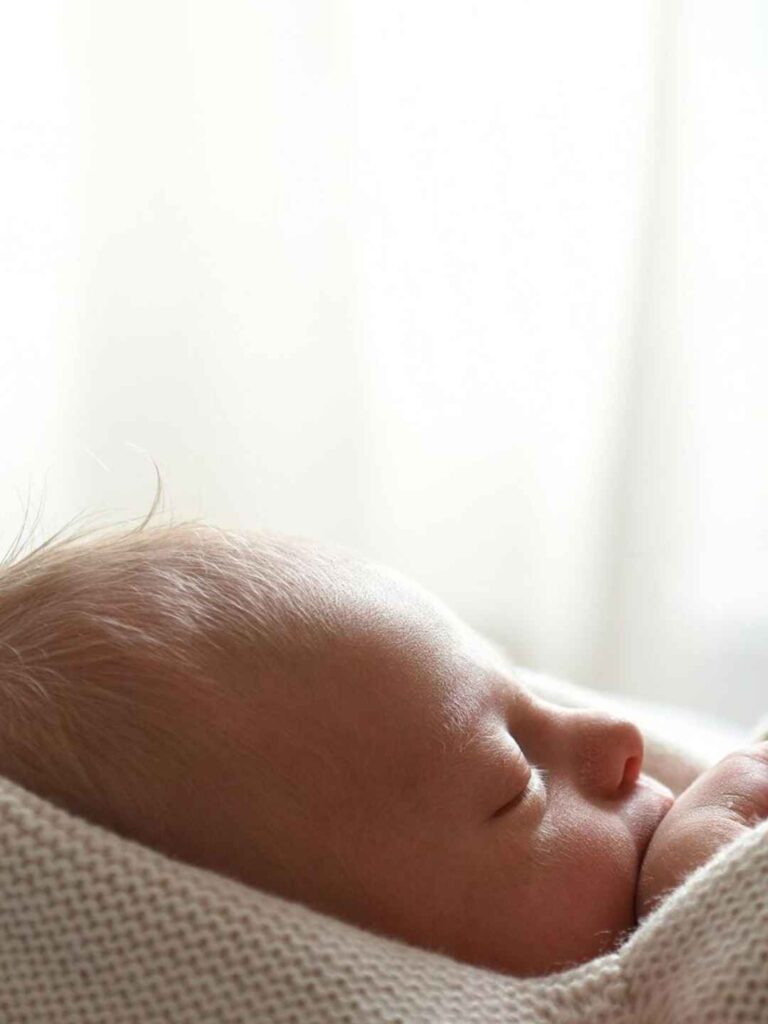
A relaxed baby gives you more time to work without forcing a pose. Feed and burp the baby before you begin if that fits your normal routine, then give the baby a few minutes to settle.
Watch for relaxed hands, slow movements, and a peaceful expression. If the baby becomes upset, stop photographing and attend to the baby first.
The session can always resume later.
Take newborn photos from the baby’s eye level
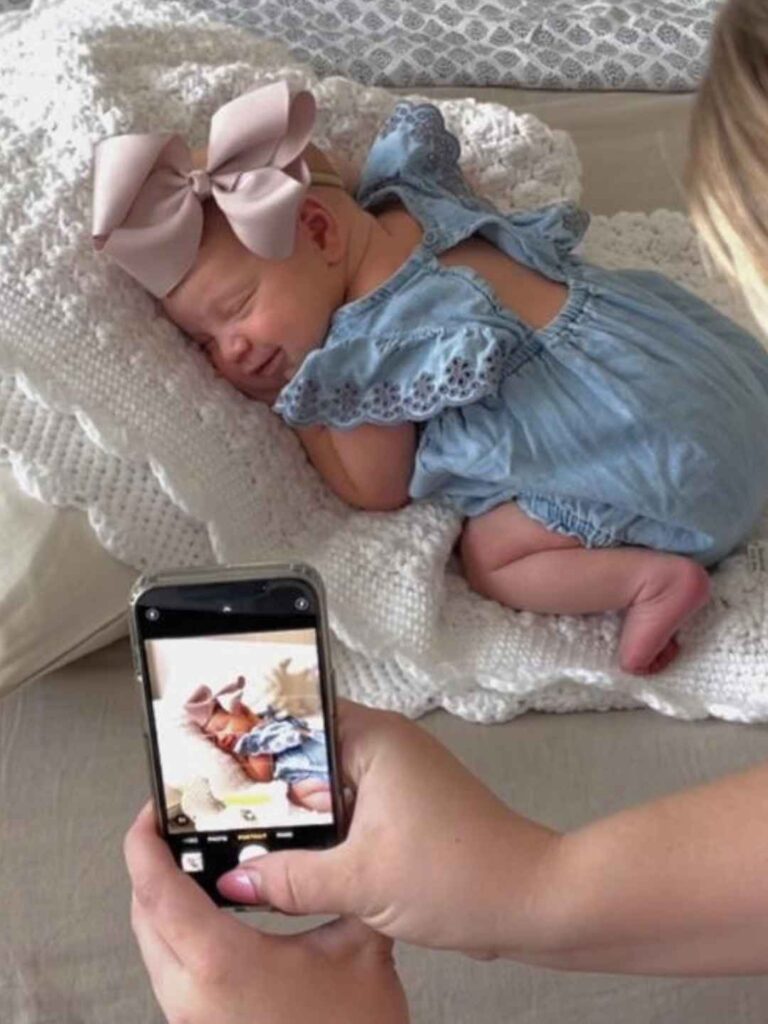
Lower yourself to the baby’s level instead of photographing everything from above.
Keep your camera or phone roughly parallel to the baby’s face, then move a little closer or farther away to change the frame.
Leave some space around the baby so you can crop later. If you’re using a phone, tap the baby’s face on the screen to set focus before taking the photo.
Capture simple close-up details
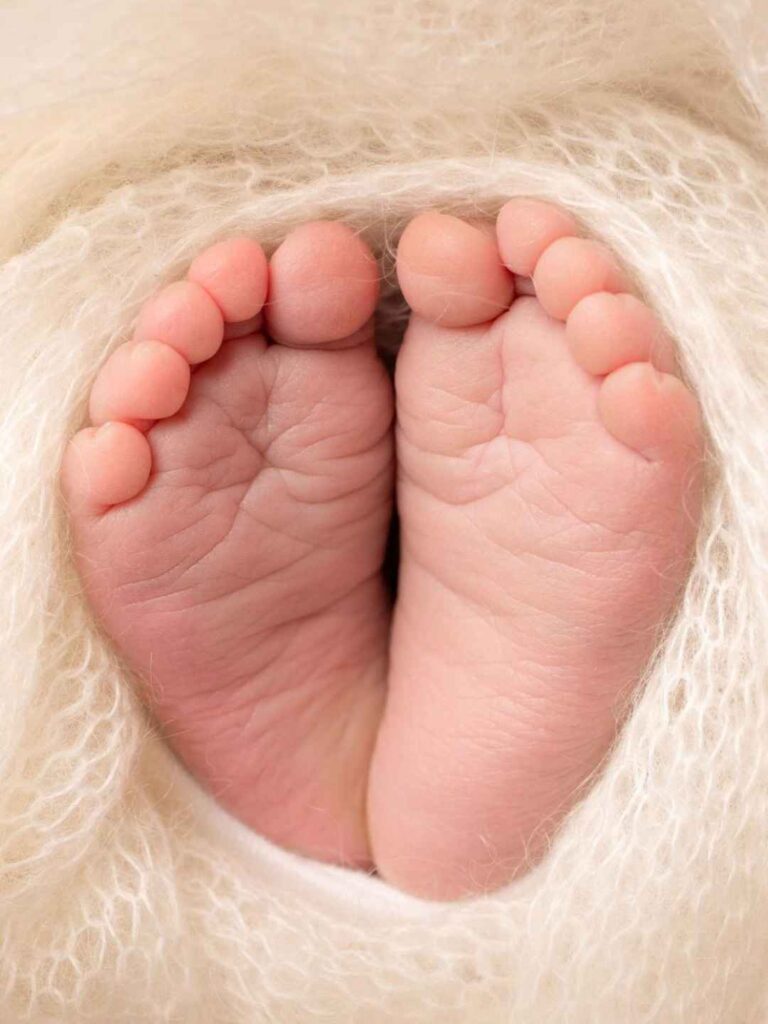
Tiny details often become some of the most meaningful photos in the set. Fill the frame with one feature at a time: curled fingers, tiny toes, eyelashes, soft hair, or a relaxed mouth.
Move your camera close enough to frame the detail without placing it in the baby’s personal space.
Take several frames because small movements can change the focus from one shot to the next.
Try one gentle wrapped pose
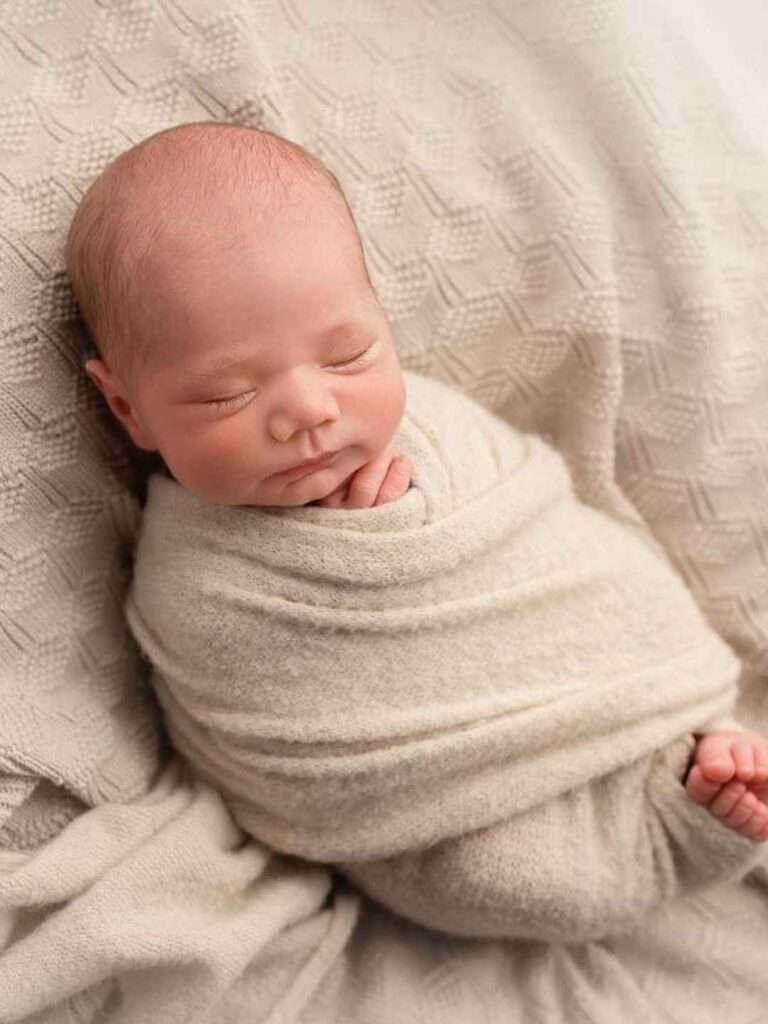
Use a soft swaddle to create a secure, simple setup while keeping the baby’s face and breathing area clear.
Wrap the baby according to safe newborn-swaddling guidance, with enough room around the hips and legs for natural movement.
Keep the baby on the flat padded surface and stay within arm’s reach.
You do not need elaborate poses; a peaceful wrapped portrait beside the window can be beautiful on its own.
Photograph the baby with a parent
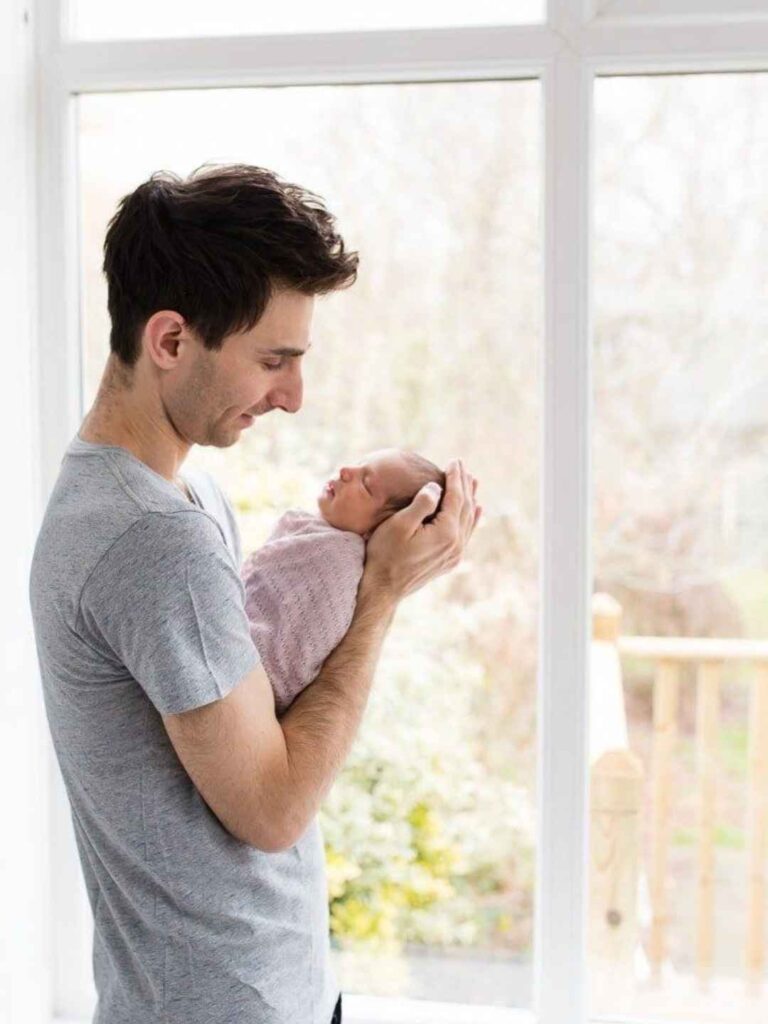
Ask the parent to sit or lie on the floor beside the baby so the whole setup stays low and stable.
Keep the background clean and place the parent near the window for the same soft light used in the baby portraits.
Capture natural moments such as a forehead kiss, a tiny hand resting on a finger, or the parent looking down at the baby.
These photographs often feel more personal than posed portraits.
Check each photo before changing the setup
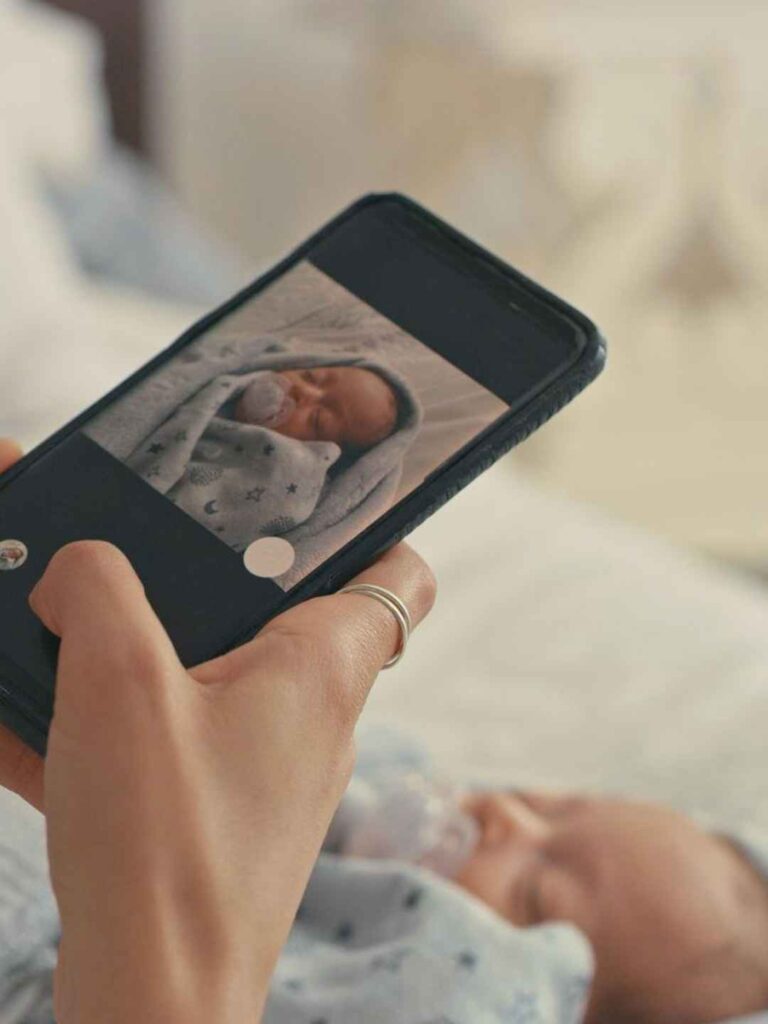
Zoom in on a few images while the baby is still in the same position. Check the baby’s face, eyes, focus, exposure, and background before moving anything.
Look for fingers or blankets covering the face and for strong shadows across the eyes.
Take another frame if something looks off. This small check can save you from discovering later that your favorite pose was slightly out of focus.
Edit the photos with a soft natural finish
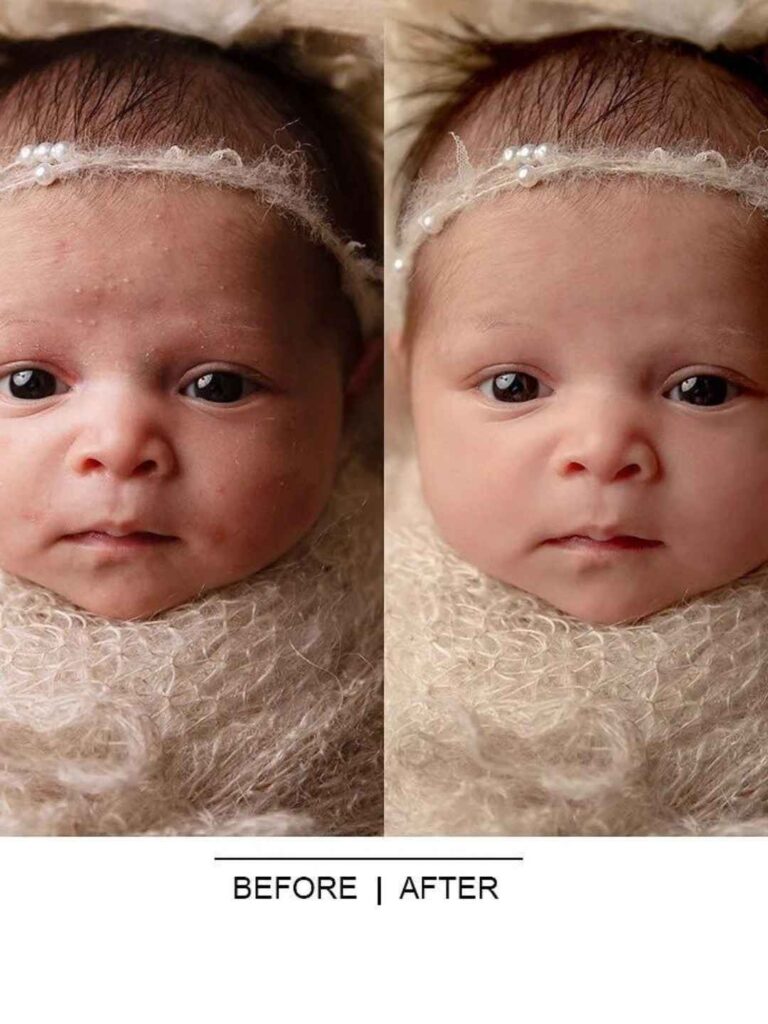
Keep the editing light so the baby’s skin still looks like real skin. Start by correcting exposure and white balance, then lower distracting highlights and make small adjustments to contrast and shadows.
Crop out clutter while keeping enough space around the baby. Avoid heavy skin smoothing or strong filters.
A warm, clean edit usually works better for newborn photos than a dramatic preset.
When Your Photos Don’t Look Right, Try These
Before You Start: 7 Things to Remember
Keep this little checklist nearby while you take your baby’s photos.
Stay near a bright window and avoid harsh direct sunlight.
A clean blanket and a neutral outfit are enough.
If your baby is hungry, upset, or uncomfortable, pause.
Tap the baby’s face on your phone before taking the photo.
Keep an adult within arm’s reach throughout the session.
Take your time. You do not need to capture everything at once.
Keep your baby on a low, stable surface and avoid risky poses.
What is the best light for newborn photos at home?
Can I take newborn photos with my phone?
What should a newborn wear for photos?
How do I keep newborn photos safe?
What if my baby won’t sleep during the photo session?
You do not need a studio to create meaningful newborn portraits. With soft window light, a clean setup, and a little patience, you can create a beautiful collection at home.
Keep the baby comfortable and safe, and let the session follow the baby’s mood.
Once you have your first set, try photographing the same setup from a few different angles.
Save this guide to Pinterest so you can come back to it when you’re ready for your next newborn photo session.