
Newborn photos don’t always turn out the way you imagined. A baby may look perfectly peaceful in person, yet the photograph can feel flat, cluttered, or miss the tiny expressions that made the moment special.
The good news is that you don’t need elaborate poses or a studio setup to get photographs with more personality.
The biggest difference often comes from what you notice before pressing the shutter—the way a baby’s body is positioned in the frame, what is happening behind them, when their hands relax, and how you use the room around you.
These newborn photography tips focus on those small decisions. They are designed for parents photographing their own baby at home with a phone or camera, using the surroundings and moments you already have.
The goal isn’t to make every photograph look perfectly posed. It’s to come away with images that actually show how tiny, sleepy, expressive, and new your baby was.
Before You Start
1. Photograph the Almost-Awake Moment
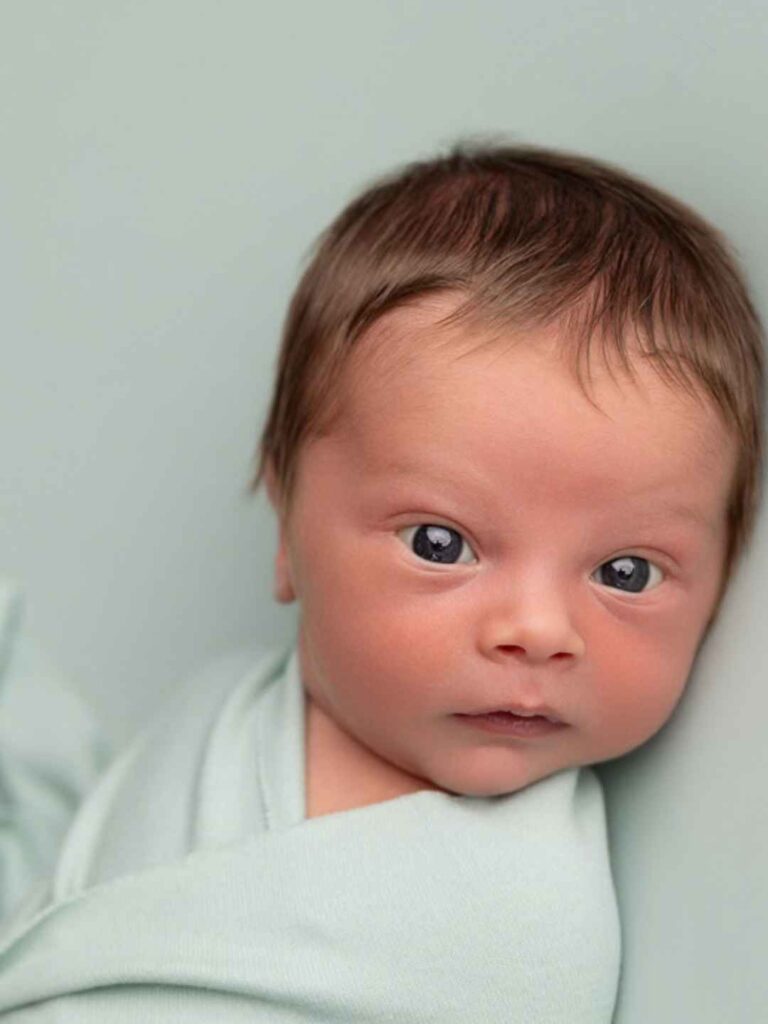
Some of the most expressive newborn portraits happen in the few seconds between sleep and wakefulness.
Watch for the moment when your baby starts stirring, opens their eyes slightly, stretches their mouth, or looks around before settling again. Keep your camera ready rather than immediately trying to put them back to sleep.
This is especially useful if your baby rarely stays awake for long. You may get a soft-eyed portrait that feels completely different from your sleeping photographs.
Photographer’s trick: take several frames during those few seconds. Newborn expressions can change from sleepy eyes to a tiny yawn or a brief smile-like expression very quickly.
Don’t Put the Camera Down Too Soon
Keep photographing for a few seconds after your baby appears to have finished an expression. The next frame may catch a yawn, stretch, eye opening, or hand movement that you would otherwise miss.
2. Create a Parent-and-Baby Scale Photograph
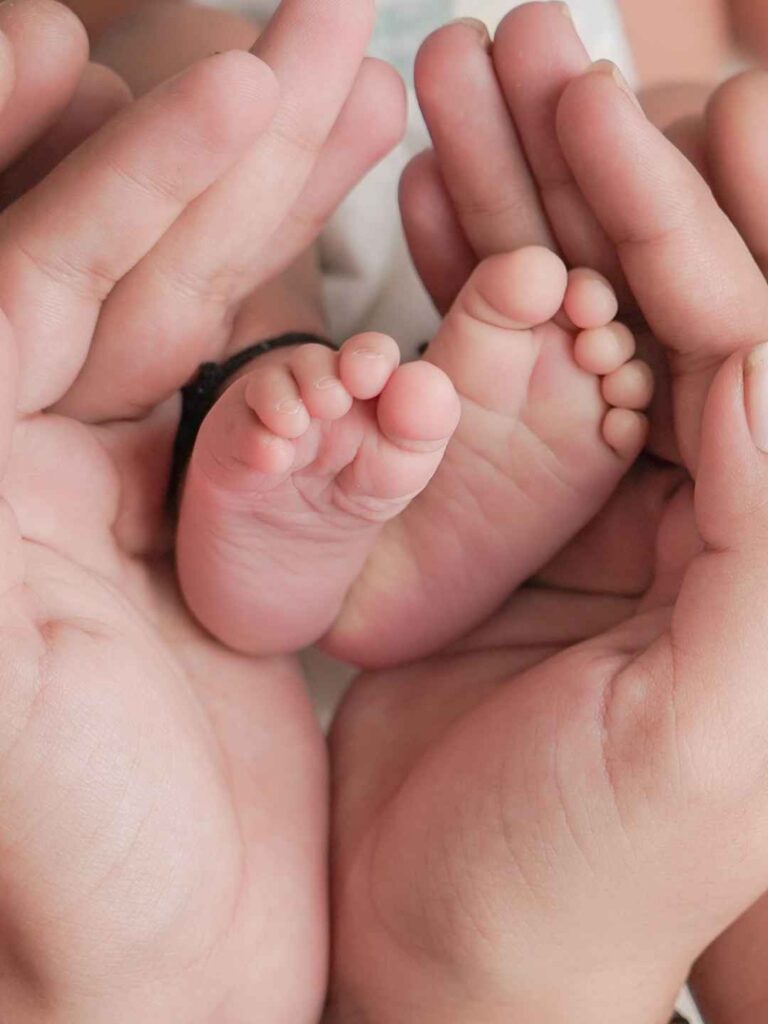
Newborns are tiny, but photographs don’t always communicate how tiny they really were. Include an adult’s hand, forearm, shoulder, or upper body in the composition to give the viewer a visual reference.
For example, photograph your baby’s tiny hand resting against a parent’s hand, or frame the baby against a parent’s chest while keeping enough of the adult visible to show the difference in scale.
You don’t need to pose the baby’s limbs for this. Let the baby’s natural position create the photograph.
For a stronger composition, remove distracting objects around the adult and let the size difference become the main visual point.
Show How Tiny They Were
Baby’s fingers resting against an adult’s hand
Baby resting naturally against a parent’s chest
A wider frame showing the baby’s small body against an adult
3. Shoot Through the Crib or Bassinet Rails
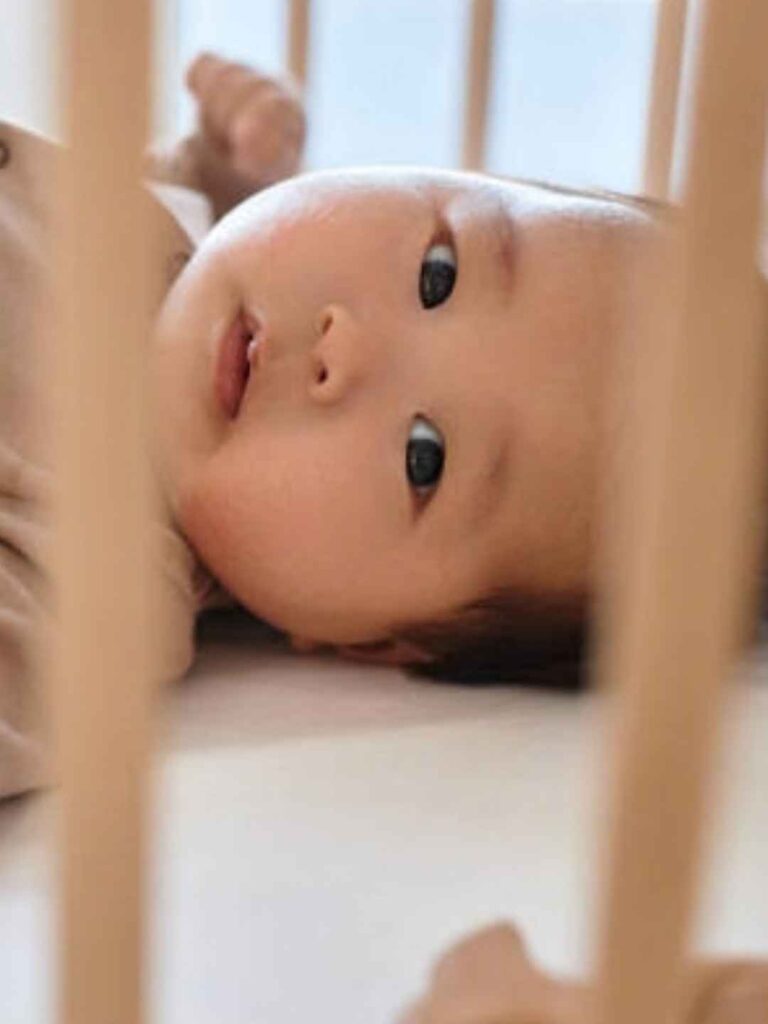
A newborn photograph doesn’t always have to be taken from directly beside the baby. If your baby is safely lying in a stable crib or bassinet, try photographing from outside it with the rails becoming part of the foreground.
The rails can create natural lines around the photograph and make the viewer feel as though they are looking into the baby’s little space.
Keep the camera and yourself outside the crib or bassinet. Don’t place phones, cameras, straps, blankets, toys, or other objects inside the sleeping area for the photograph.
Try one frame with the rails visible and another where you move slightly sideways so only part of the rail enters the edge of the frame. The two compositions can look surprisingly different without disturbing the baby.
Use the crib or bassinet rails as a visual frame, but keep all photography equipment outside the baby’s sleeping space.
Take one straight-on frame, then move sideways and let one rail enter only along the edge of the photograph.
4. Use the Parent’s Shoulder to Hide Background Clutter
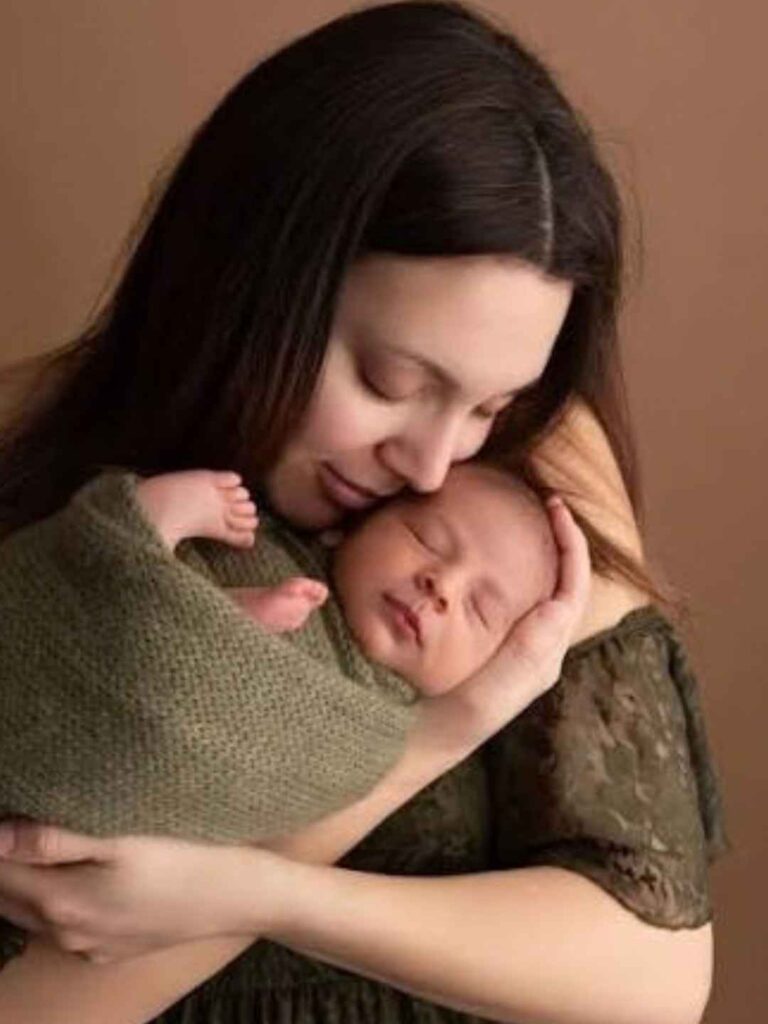
A parent holding the baby can solve a background problem without moving furniture around the room.
Position the adult so their shoulder, upper arm, or torso sits directly behind the baby’s head. This creates a large, relatively clean area behind the face while keeping the photograph focused on the baby.
This works particularly well in bedrooms and nurseries where you may have lamps, shelves, laundry, chargers, or other everyday objects in the background.
Before taking the photograph, look around the baby’s head specifically. If an object appears to grow out of the baby’s head, change your position or ask the parent to turn slightly.
5. Photograph the Same Setup in Three Crops
When your baby is settled, don’t keep repositioning them to create different photographs. Change your framing instead.
Take one wider photograph showing the surrounding environment, one medium photograph including the baby’s head and upper body, and one close-up concentrating on the face or hands.
You can create a small collection of photographs from one uninterrupted moment this way.
This is particularly useful for parents using a phone because the baby doesn’t need to cooperate with several different setups. You are changing your composition rather than changing the baby.
Change the Frame, Not the Baby
6. Wait for the Hands to Relax Before Taking the Close-Up
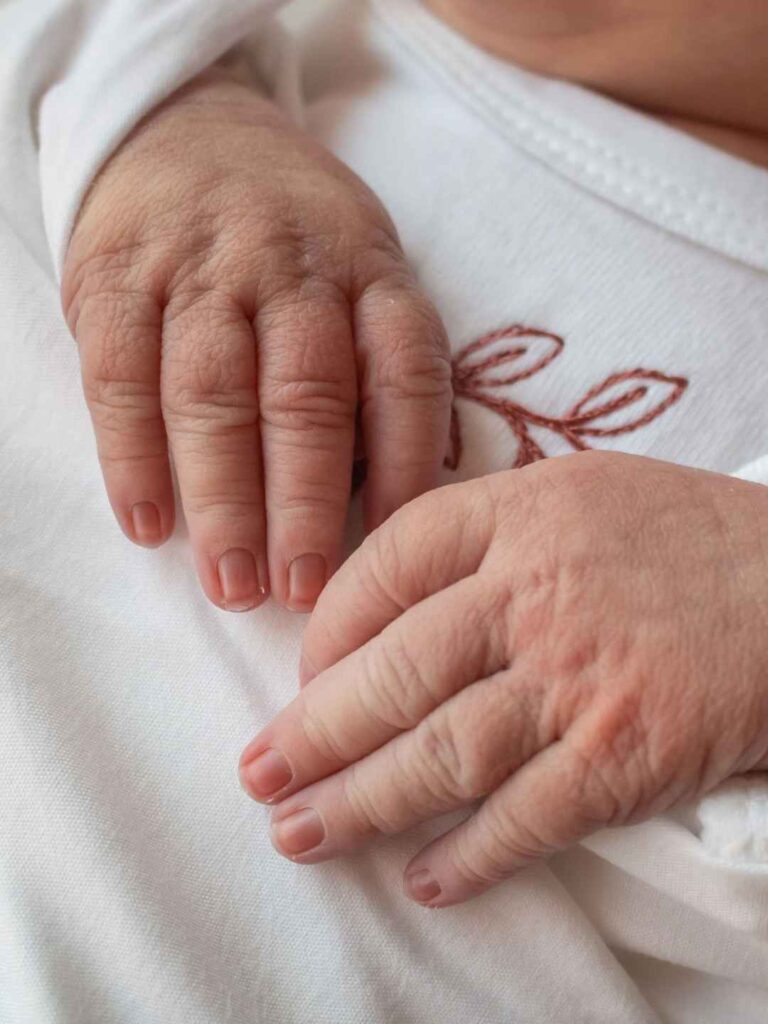
Newborn hands can tell you a lot about their mood. When a baby is unsettled, their fingers may stay tightly curled or move constantly. During a deeper period of rest, the hands may loosen and fall into a more natural position.
Watch rather than repositioning the fingers yourself.
When you notice the hand relax, move in for a close-up. You might capture fingers resting beside the cheek, a loose fist near the chest, or tiny fingers touching the lips.
Don’t force the hand into a pose. The photograph is stronger when the position belongs to the baby.
7. Use Doorways to Create a Natural Frame
Doorways can give a parent-and-baby photograph a defined composition without adding any photography props.
Have the parent stand or sit safely within the doorway while holding the baby securely. From your position outside the room, use the door frame along the sides of the photograph.
This works particularly well when the room behind the parent is brighter or visually cleaner than the surrounding hallway.
For a more intimate frame, photograph vertically and let the doorway run along both sides. For a wider environmental photograph, step back and include more of the room.
Let the Room Frame the Family
Instead of adding decorative objects around the baby, look for existing lines in your home.
8. Photograph the Baby Before You Fix the Scene
There is a tendency to stop whenever something looks slightly out of place—a blanket shifts, a baby’s hat moves, a parent laughs, or a tiny hand suddenly reaches upward.
Before fixing it, take the photograph.
These unscripted seconds can produce photographs that feel more personal than the carefully arranged frame that follows. A blanket sliding down can reveal a tiny shoulder.
A parent laughing can change their entire expression. A baby stretching can create a completely different silhouette.
You can always tidy the scene afterward. You cannot recreate the exact movement that happened for one second.
Take the Frame Before You Fix It
9. Photograph the Baby’s First Reaction to a Familiar Voice
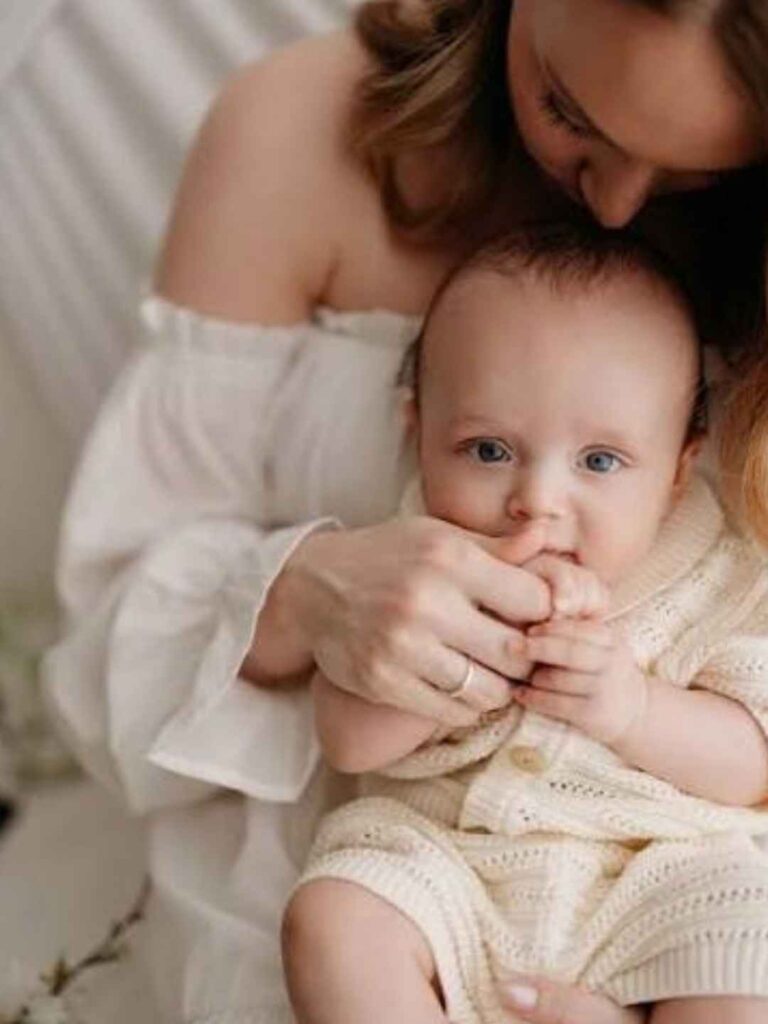
Newborns may briefly change their expression or open their eyes when they hear a familiar parent’s voice.
Instead of asking everyone to stay completely silent, have one parent stand close to the baby and speak naturally from outside the camera frame. Watch the baby’s face while the other parent photographs.
You may catch a tiny change in the eyes, a relaxed mouth, a head movement, or a more alert expression.
Keep the interaction calm and natural. The goal isn’t to repeatedly stimulate the baby for a reaction; it’s to photograph a moment that happens naturally.
10. Photograph What the Baby Sees
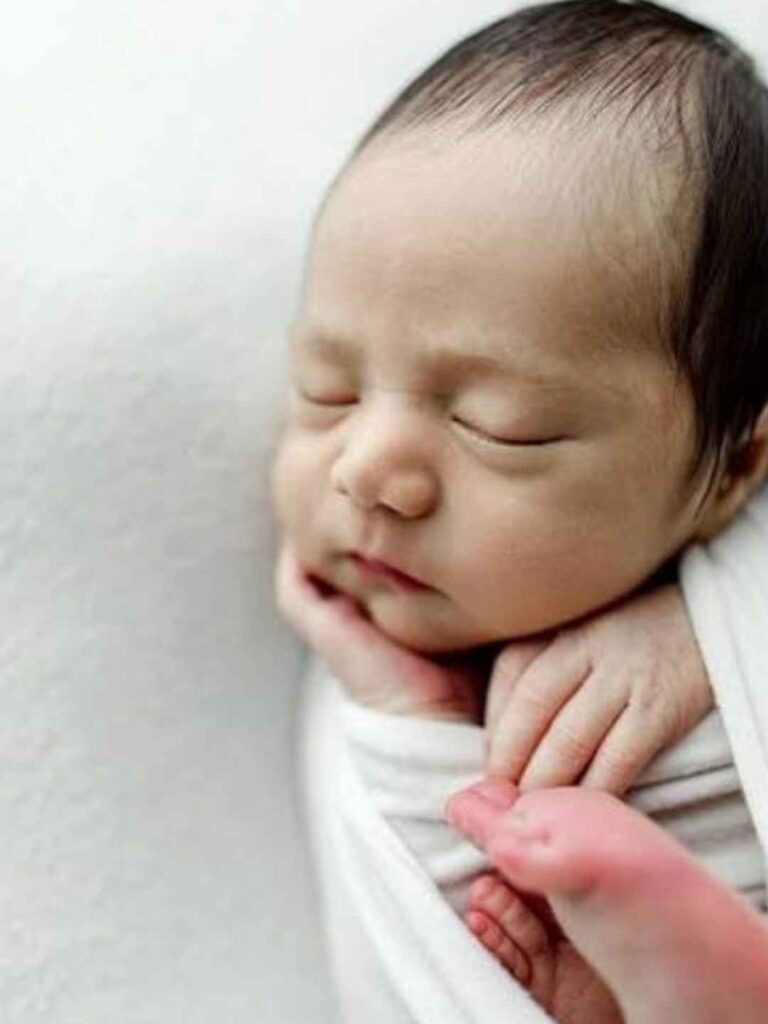
Most newborn photographs are taken from the adult’s perspective. Try lowering your camera to the baby’s level instead.
If the baby is safely lying flat on a stable surface, position yourself so the camera is closer to their eye level rather than photographing from high above.
This changes how the room appears behind them and can make the photograph feel more intimate.
For a baby being held, photograph from the side at roughly the baby’s eye level rather than always looking down at them.
The result can feel less like a photograph of the baby and more like a photograph from their little world.
11. Photograph the Parent’s Hands Before the Baby Moves
When a parent is holding a newborn, pay attention to where their hands naturally fall.
A hand supporting the baby’s back, fingers resting around a tiny foot, or a palm gently covering part of the baby’s body can communicate care without requiring a posed interaction.
Take a few frames while the hands are naturally positioned. Avoid asking the parent to repeatedly move their hands into different poses.
Small details of how someone holds a newborn can become some of the most personal photographs from the session.
Photograph the Hands Holding the Baby
12. Photograph the Empty Space After a Feeding
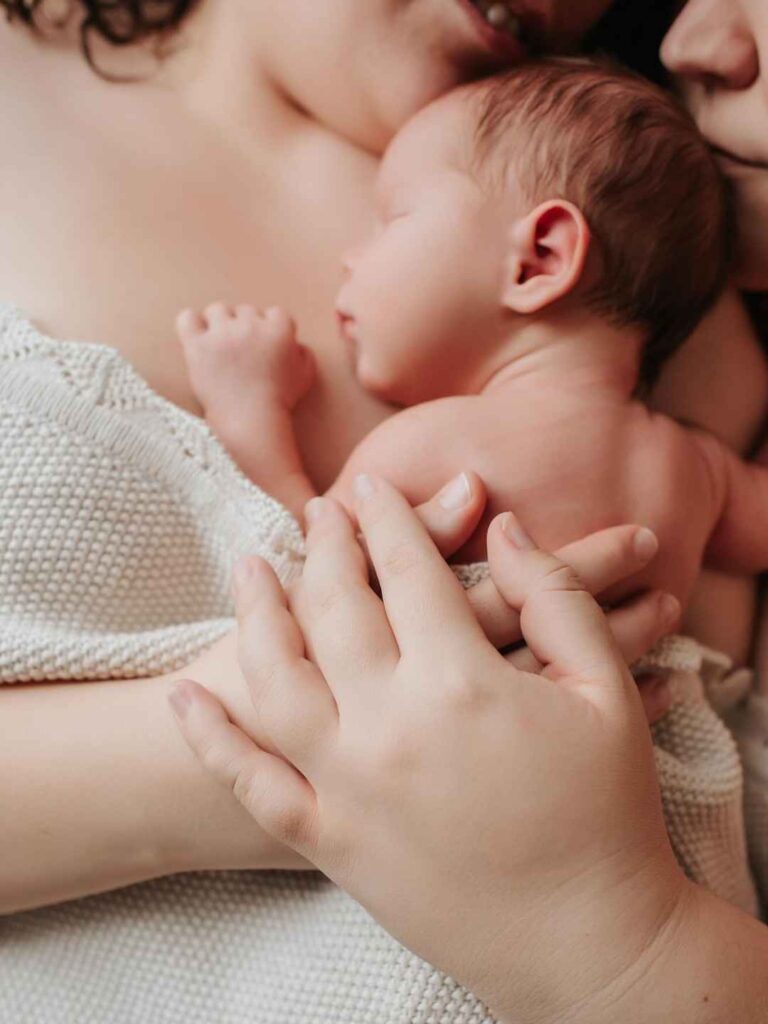
The moments immediately after feeding can give you a different kind of newborn photograph.
Instead of photographing only the feeding itself, keep your camera nearby afterward.
A sleepy baby resting against a parent’s shoulder, a tiny hand gripping clothing, or a relaxed face against the parent’s chest can create a quiet storytelling image.
This also gives you a chance to photograph the relationship between parent and baby without asking them to pose.
Keep feeding and burping routines completely baby-led. Photography should fit around the baby’s needs rather than interrupt them.
13. Use a Doorway or Hallway to Photograph the Nursery From Outside
Rather than photographing directly inside the nursery, step outside the room and use the doorway as your frame.
Leave some distance between yourself and the baby so the photograph shows a little of the nursery around them. This can document the environment in which your baby spent those first weeks.
Look for small details that belong to your real home—a favorite chair, crib, curtains, or a piece of artwork.
This approach works especially well as a memory photograph, because the room itself becomes part of the story.
14. Photograph the Same Moment From Both Sides
When you find a good moment, don’t automatically assume the first camera position is the strongest one.
Take a few photographs from one side, then move around the baby yourself rather than moving the baby. The change in background, facial features, and light direction can completely alter the image.
This is particularly useful when one side of the room has distracting objects.
Move yourself before moving a settled newborn.
Move Yourself First
15. Photograph the Tiny Imperfections You Will Miss Later
Newborn photographs don’t have to show only polished portraits.
Capture the peeling skin around tiny fingers, soft hair along the shoulders, milk-drunk expressions, wrinkled feet, loose clothing, little creases around the wrists, and the way the baby’s mouth rests while sleeping.
These details change quickly.
A close-up of a tiny wrinkle may not feel like an important photograph during the first week, but months later it can become one of the images that reminds you exactly how small your baby was.
16. Photograph the Baby’s Favorite Sleeping Position
If your baby repeatedly settles in the same safe position, photograph it instead of trying to create a different pose.
Perhaps they always turn their head toward one side, tuck their hands near their face, or sleep with their legs in a particular position.
These repeated little habits are part of your baby’s early personality.
Keep the baby on an appropriate flat, firm, safe sleeping surface and don’t add pillows, loose blankets, stuffed animals, or other objects around them for the photograph.
17. Include Something That Will Show How Much They Change
Choose one ordinary household object that provides scale without being placed in or around the baby’s sleeping area.
For example, photograph a parent’s hand beside the baby’s foot or the baby’s hand wrapped around an adult finger.
The purpose isn’t to make the object a prop. It gives you a reference point that makes the baby’s size obvious when you look back at the photograph later.
The best scale photographs often use something already present rather than adding decorative props.
Give Future You a Size Reference
Include a familiar adult hand, finger, forearm, or shoulder so the photograph records just how tiny your baby actually was—not only what they looked like.
Place your hand beside the baby’s curled fingers or gently hold one tiny foot. Keep the adult hand relaxed and let the size difference become the natural focus of the frame.
18. Take One Photograph That Shows the Whole Room
Close-ups are valuable, but don’t make every photograph tightly cropped.
Step back occasionally and photograph the baby within the actual room. Include the crib, chair, window, curtains, wall art, or another part of the nursery that will help you remember the space.
You don’t need the room to look like a magazine. In fact, a few ordinary details can make the photograph more meaningful later.
Think of this as documenting where your baby was, rather than only documenting what your baby looked like.
19. Photograph the Parent Looking at the Baby, Not at the Camera
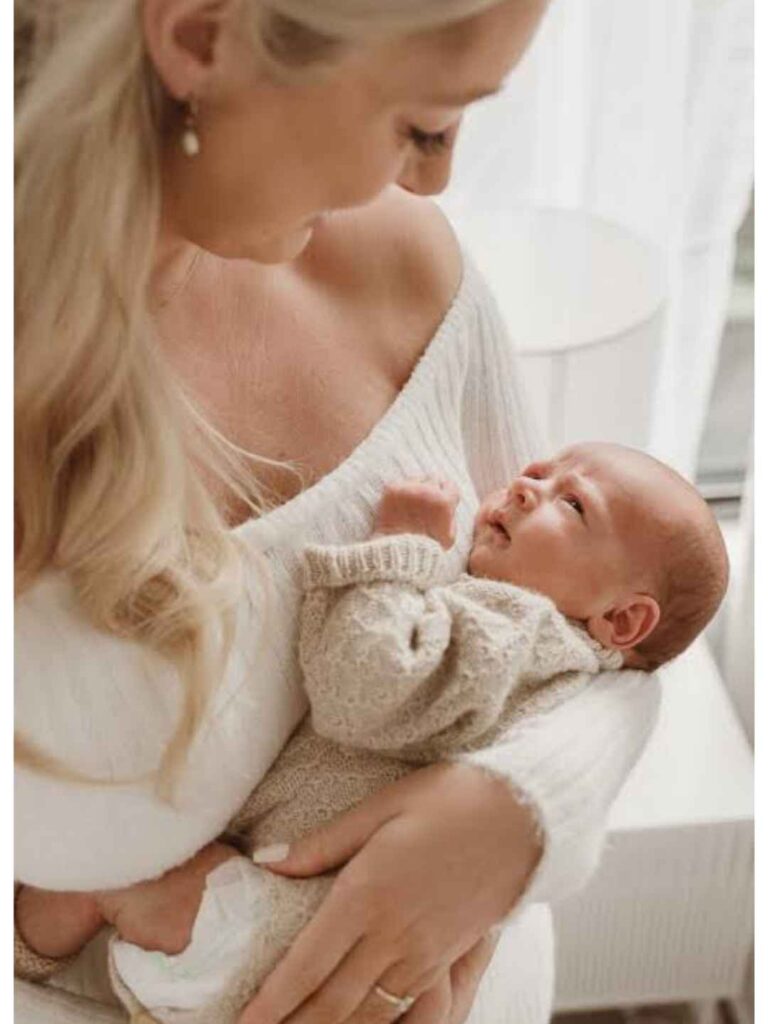
Ask the parent to interact with the baby rather than repeatedly looking toward the camera.
A parent looking down at their newborn, checking their tiny fingers, kissing their forehead, or smiling at them creates a more natural connection than a forced smile toward the lens.
Stand slightly to the side so you can photograph both faces when possible.
If the baby’s face isn’t visible, that’s fine. A photograph focused on the parent’s expression and the baby’s small head against their chest can still tell the story.
20. Keep One “No-Posing” Photograph From Every Session
After you’ve taken your planned portraits, deliberately leave room for one photograph where nobody is trying to create a particular pose.
It could be a parent settling the baby, a sleepy moment after feeding, a sibling looking at the baby, or the baby stretching while everyone waits.
These photographs may not have perfect symmetry or ideal expressions.
That’s part of the point.
A newborn doesn’t need to perform for the photograph.