
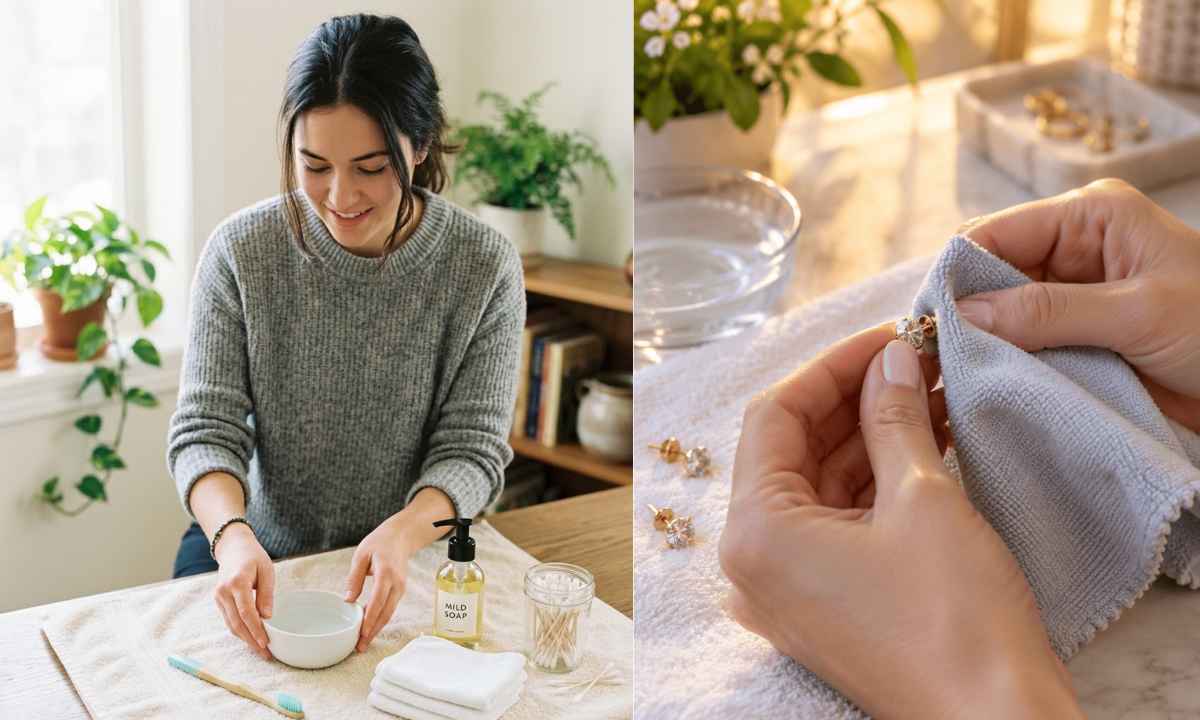
If your earrings have started looking dull, sticky, or covered with makeup and skin buildup, you do not need a special jewelry cleaner to get them looking fresh again.
Learning how to clean earrings at home can be as easy as using a soft brush, mild soap, and a clean cloth.
The key is to clean gently. Different earrings can react badly to soaking, strong cleaners, or rough scrubbing, especially if they have glued-on stones, pearls, plating, or delicate finishes.
This method is made for beginners and focuses on removing everyday dirt without being too harsh on the jewelry.
Plan on about 10–15 minutes of hands-on work for a small batch of earrings. You will clean the jewelry, pay extra attention to the posts and backs, rinse away residue, and dry everything well before storing it.
If you are cleaning a valuable, antique, heavily plated, or very delicate pair, stop and check its care instructions before using water.
Gather the cleaning supplies
Work over a clear table rather than directly over a sink. Small earring backs are easy to lose, and a dropped stud can disappear down the drain before you notice.
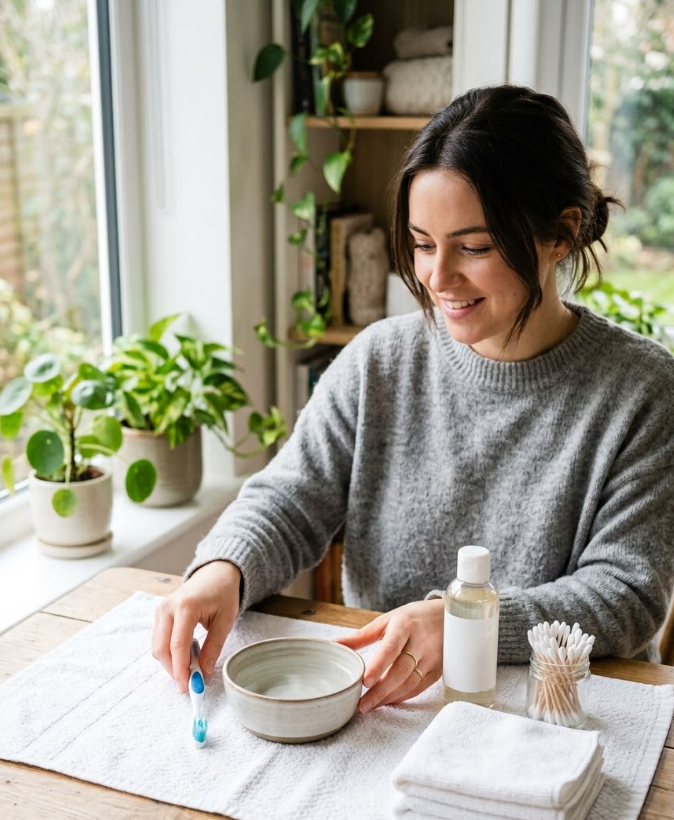
Place a clean towel or tray under your work area to catch tiny pieces. Keep the two clean cloths separate: one will remove moisture, while the other can be used for a final polish.
You need lukewarm water, a few drops of mild dish soap, a small bowl, a soft toothbrush, cotton swabs, and lint-free cloths. Skip paper towels if they leave fibers behind.
Check the earrings for delicate materials
Look closely at each pair before adding any water. Solid gold, sterling silver, stainless steel, and many plain metal earrings can handle gentle cleaning, but jewelry with pearls, soft stones, glued decorations, loose stones, or worn plating needs more care.
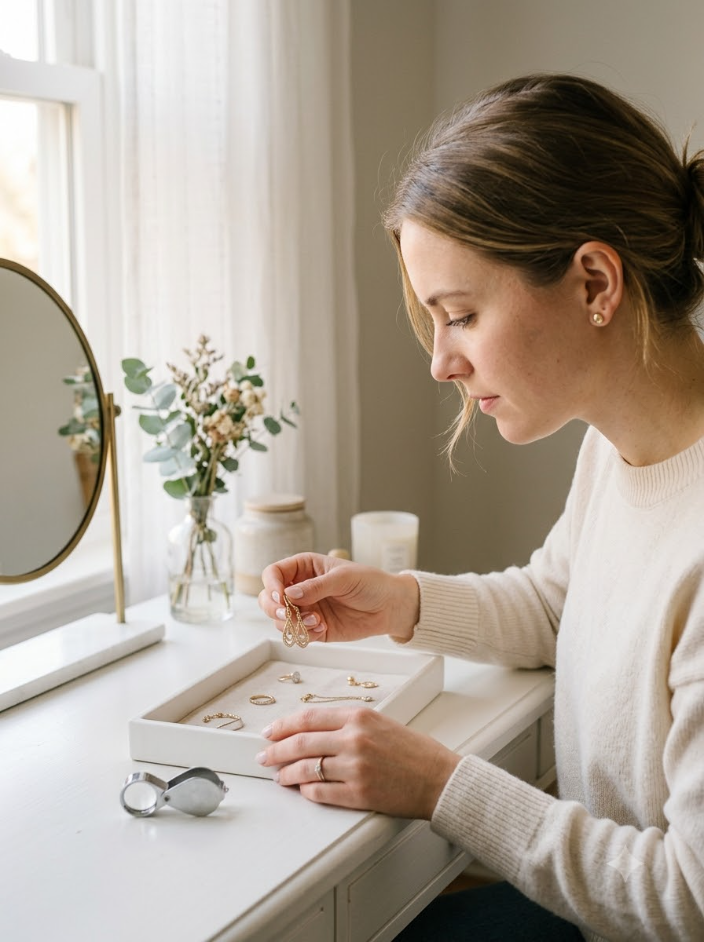
Check for cracks, loose settings, peeling finishes, or stones that move when touched.
If you are unsure what a pair is made from, treat it as delicate. Do not soak it. This check prevents a routine cleaning session from loosening a stone or damaging a surface that cannot handle water.
Remove loose dirt with a dry brush
A dry brush takes off dust, flakes, and surface buildup before the soap touches the earrings. Hold each earring over the towel and brush around the front, back, post, and small crevices with light strokes.
Pay extra attention to the area where the post meets the earring, since buildup often collects there.
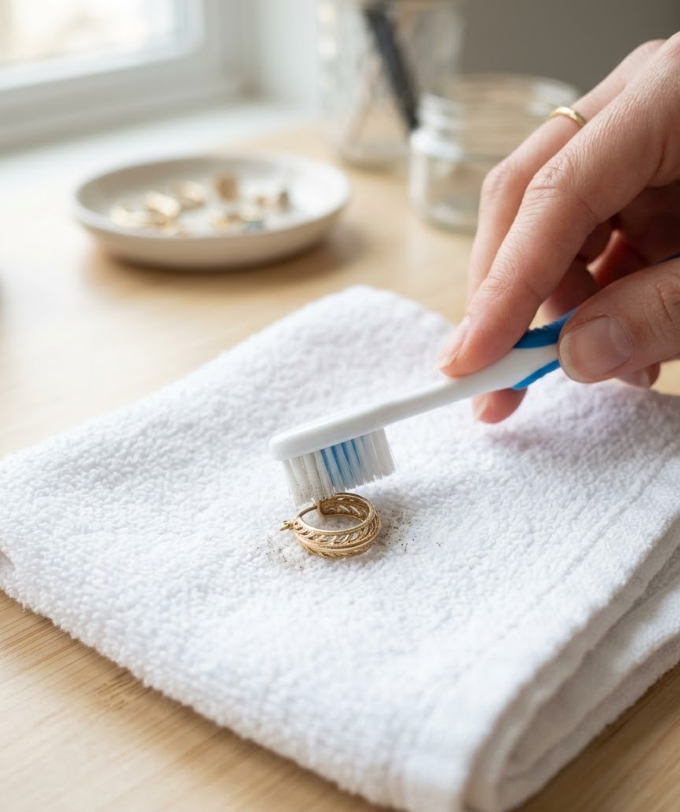
Use a soft-bristled toothbrush and very light pressure. For tiny gaps, a dry cotton swab can help. Do not use a sharp pin or needle to dig out debris; scratching the metal is an easy mistake to make.
The first batch leaned toward 2–3 sentence explanations with practical warnings and opened mostly with direct instructions or a clear condition. This batch varies the rhythm with a measurement-led opener, an observation, and a caution-based opener.
Mix a mild cleaning solution
Use 1 cup of lukewarm water in a small bowl and add about 2–3 drops of mild liquid dish soap. Swirl it gently with a clean spoon or your fingertip until the water looks lightly soapy.
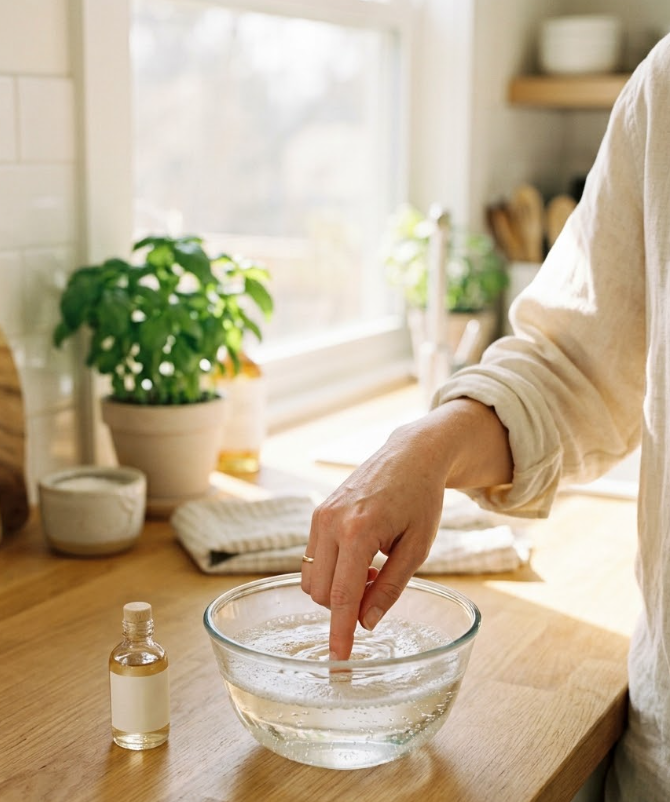
The solution should feel mild, not thick or strongly scented. You are trying to loosen skin oils, makeup, and everyday grime without leaving a heavy soap film behind. Avoid hot water because sudden heat can be hard on delicate stones, finishes, and glued parts.
Clean the earrings at home with a soft brush
Dip the toothbrush into the soapy water, then let excess liquid drip back into the bowl. Gently brush the earring over the towel, working around the front and back of the piece.
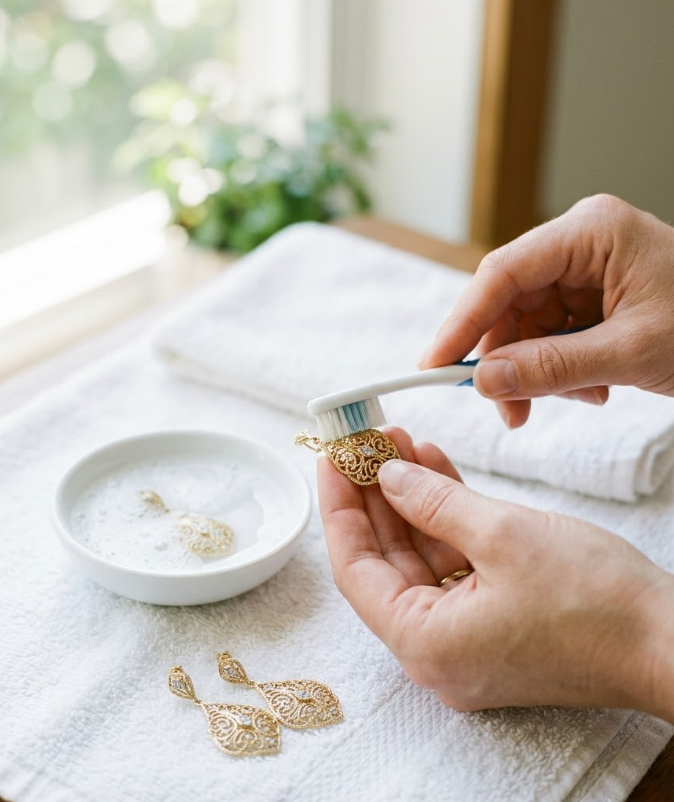
Give extra attention to the post, butterfly back, grooves, and areas where makeup or skin oil has collected.
Use 30–60 seconds of gentle brushing per earring. You should see the buildup loosen without needing hard pressure.
For earrings with glued decorations or delicate stones, use a barely damp cotton swab instead of brushing directly over the attachment.
Wipe away the cleaning solution
A clean damp cloth is enough to remove the loosened dirt and soap from most earrings. Dampen the cloth with plain lukewarm water and squeeze it well so it is moist rather than dripping.
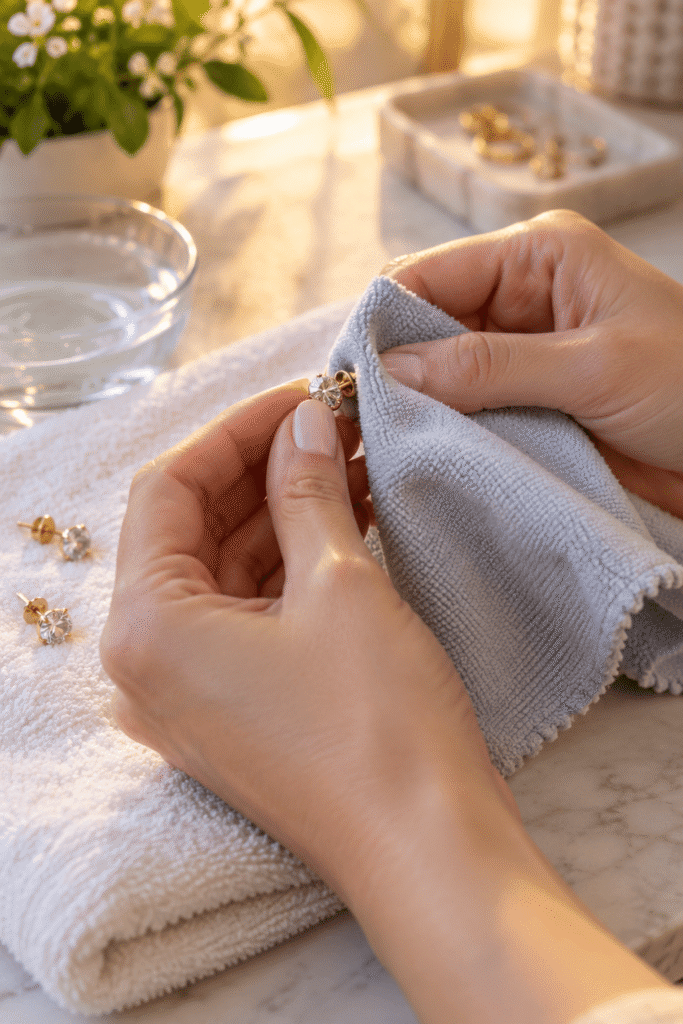
Gently wipe every accessible surface, turning the earring as you work.
For narrow spaces, use a damp cotton swab. Change to a clean section of cloth when it becomes dirty.
Removing the soap matters because dried residue can make polished metal look cloudy and can attract more grime.
The last batch used mostly process-focused openers and similar paragraph shapes. These three deliberately vary the rhythm: a result-focused observation, a specific small-area action, and a storage-focused finish.
Dry every part of the earrings
Moisture left behind can cause problems later, especially around posts, backs, hinges, and tiny crevices. Press a clean lint-free cloth gently against each earring to absorb the water rather than rubbing hard.
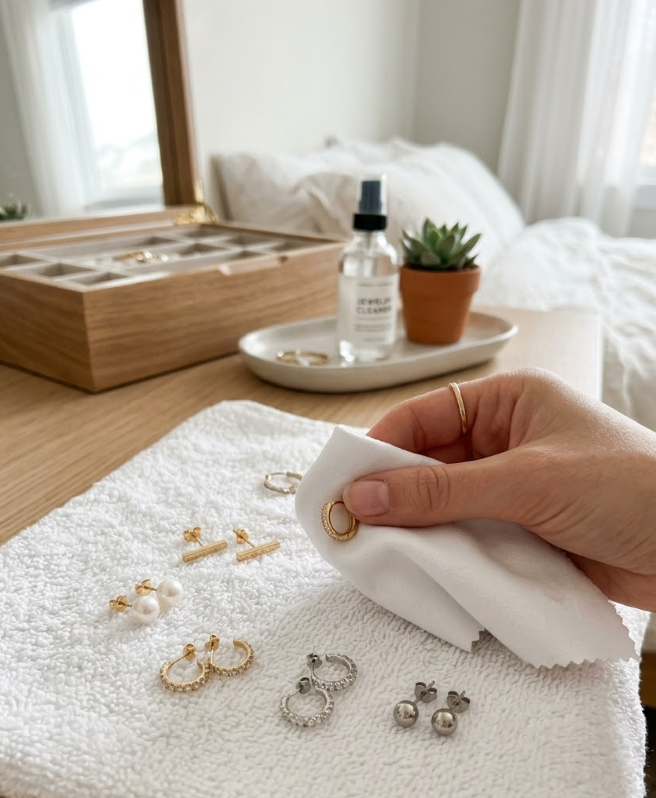
Check the jewelry from several angles and make sure no droplets remain. Leave the earrings on a clean, dry towel for 10–15 minutes if they still feel damp.
Do not put wet earrings straight into a closed jewelry box, where trapped moisture can encourage tarnish or leave residue behind.
Clean the earring backs separately
Earring backs collect a surprising amount of skin oil and product because they sit close to your ear.
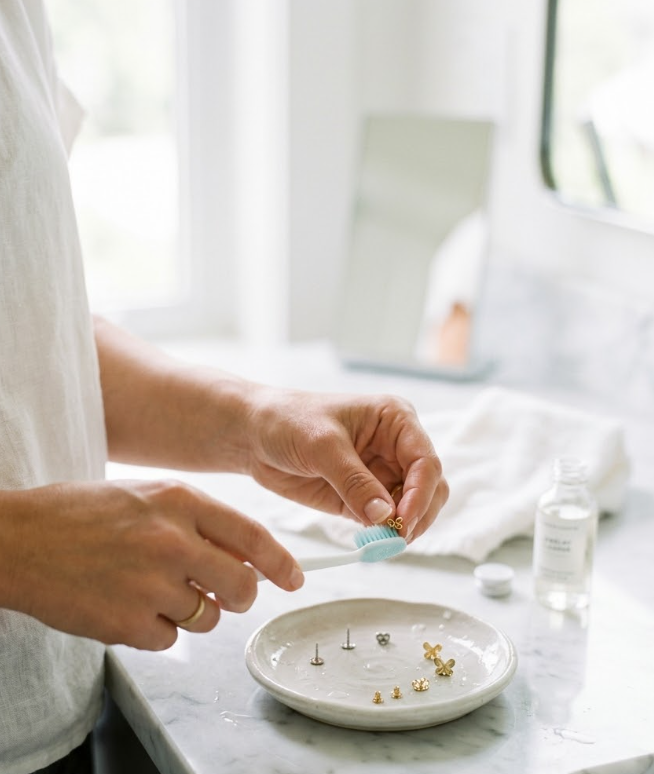
Place the backs in the remaining mild soapy water and gently rub each one between your fingers or with the soft toothbrush for about 20–30 seconds.
Rinse them with clean lukewarm water and dry them completely with a lint-free cloth. If a back has a spring, hinge, or other moving part, avoid forcing it open during cleaning. Wipe around the mechanism instead.
Store the earrings after cleaning
Wait until every piece is fully dry before putting it away. Pair each earring with its matching back, then place the pieces in a clean jewelry box, small pouch, or compartmented organizer.
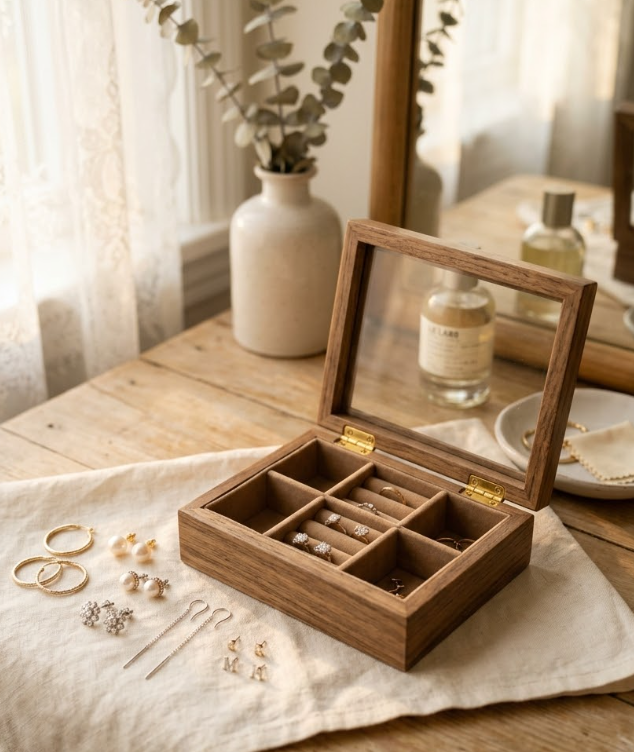
Keeping earrings separated reduces scratches and stops damp or dirty pieces from rubbing against freshly cleaned ones.
Troubleshooting, Common Mistakes & FAQ
Quick Reference Card & Conclusion
Conclusion
Your earrings are now clean, dry, and ready to wear again.
The biggest win is using a gentle method instead of strong cleaners or hard scrubbing.
For your next cleaning session, check the metal and stones before choosing your method.
Save this how to clean earrings at home guide to Pinterest so you can find it the next time your jewelry needs a refresh.